Listen:
All you wanted was a piping cup of coffee to start your morning, survive your afternoon, or keep you active in the evening.
However:
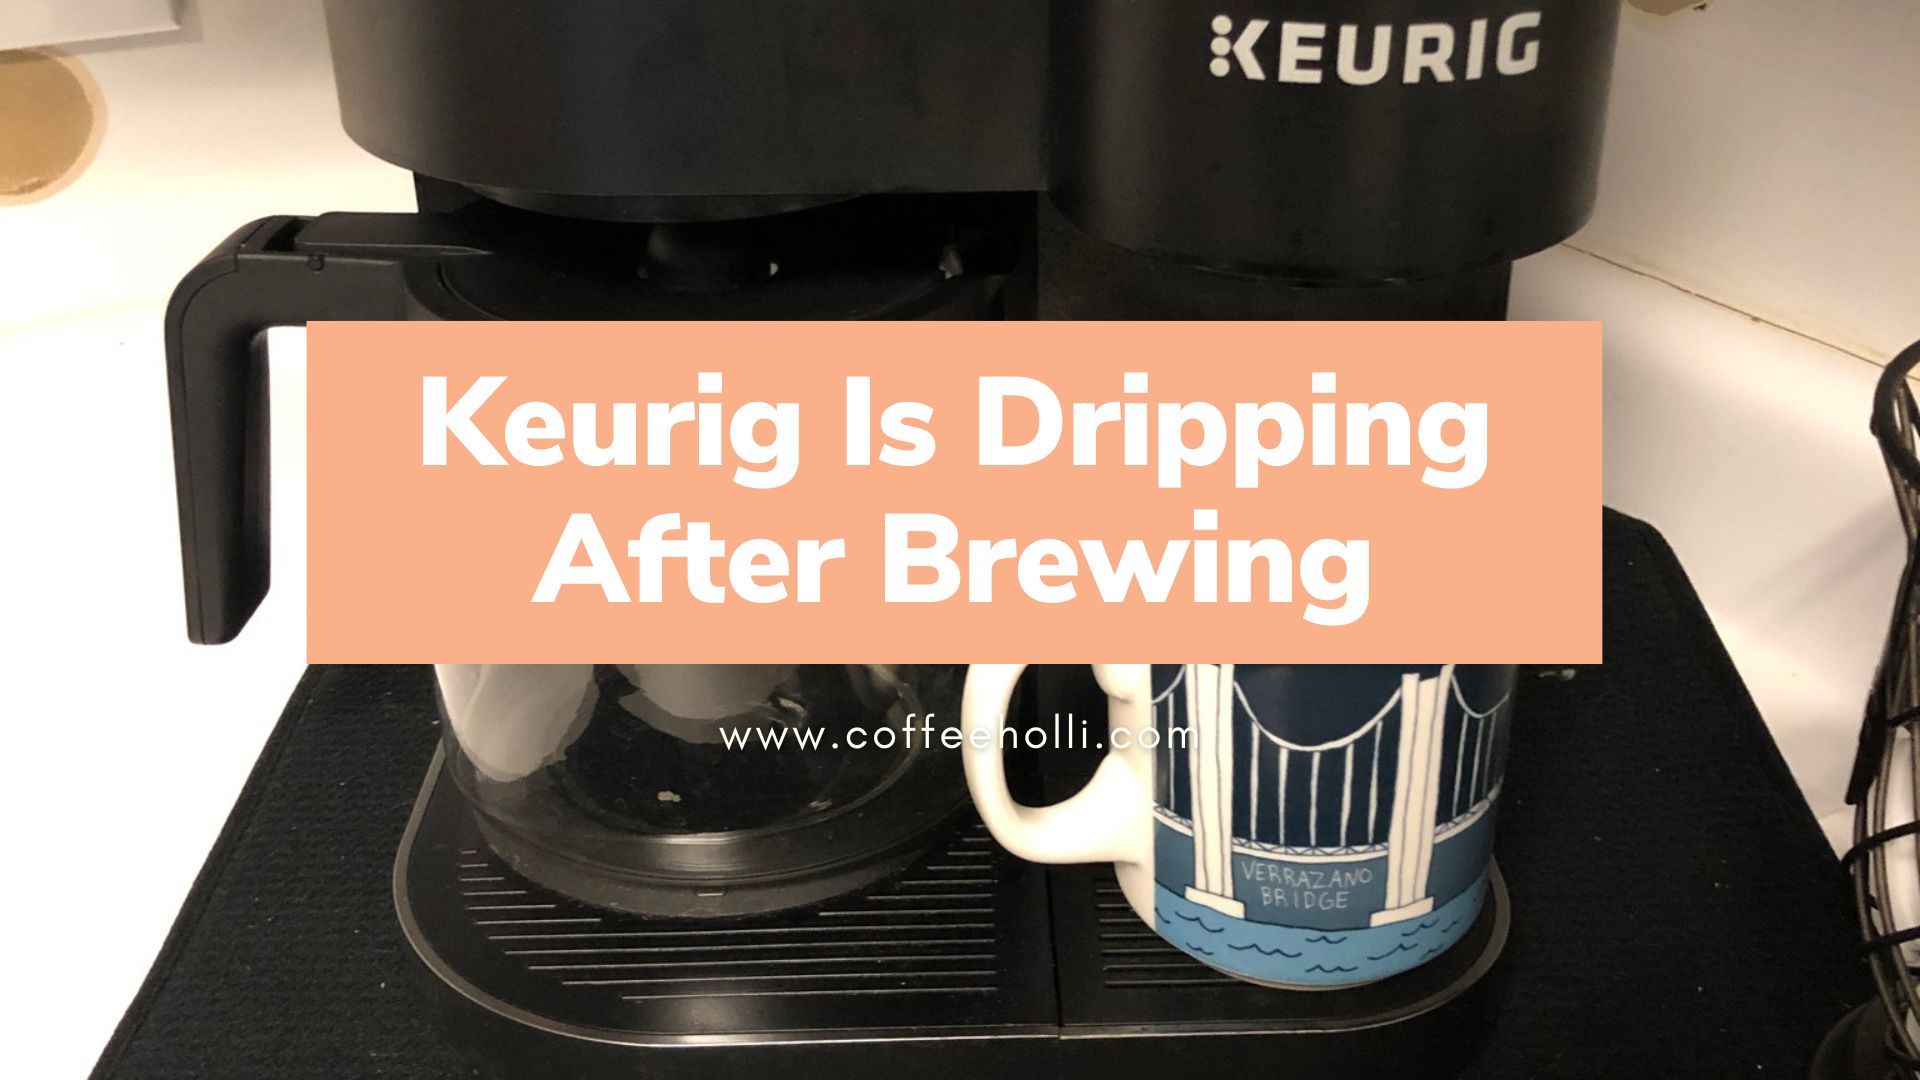
Your Keurig had other plans for you and dripped all over your countertop after brewing.
Of course:
Nobody wants a defective Keurig that makes their coffee-making experience less elegant and enjoyable.
Indeed, managing a Keurig coffee maker that keeps dripping after brewing is an exasperating position.
We know that:
You are desperately or not so desperately searching for the reason for your Keurig’s defect and some solutions.
We’ve got you covered!
Keep reading this article to explore our compilation of reasons and nifty fixes for your Keurig that keeps dripping after brewing.
Table of Contents
Keurig Is Dripping After Brewing
Your Keurig may be dripping after brewing for various reasons. Luckily, You can fix them easily. In most cases, descaling and unclogging your Keurig with its needles or paying attention to the reservoir’s water limit should solve it. It would also help to replace and repair the check valve or the upper gasket.
1. Avoid Overfilling Your Keurig’s Water Reservoir
Here’s the thing:
It is particularly easy to fill your Keurig’s water reservoir past its water capacity marker. This user error is the most common causative factor for a Keurig that leaks after brewing.
Luckily:
The problem is just as easy to fix. Simply ensure that you pour just enough water into the reservoir without passing the max fill line (dotted line) on the tank.
In addition:
You should also be aware of your water reservoir’s placement, as a misaligned reservoir will lead to the flooding of your Keurig system.
So:
You can prevent your Keurig from dripping after brewing by ceasing to make common user errors.
2. Descale and Unclog Your Keurig Coffee Maker

Clearly:
Descaling your Keurig is a fairly common solution to most Keurig malfunctions, as excess limescale can do much damage.
Get this:
Mineral deposits called limescale compound over time and could clog your Keurig’s system leading to leaks and other functional limitations.
Of course:
For a Keurig that drips after brewing, descaling is a no-brainer.
Here’s how to go about it:
You need to pour an equal part mixture of a descaling solution and water into your Keurig’s reservoir. Alternatively, you could use a mixture of white vinegar and water if you don’t have a descaling solution.
Next:
Run a brewing cycle, then let the mixture soak in the reservoir to break down the mineral compounds.
After this:
Dispose of the solution and run multiple water-only rinse cycles to remove residual debris.
Your Keurig should work properly without leaks after descaling and unclogging your Keurig system.
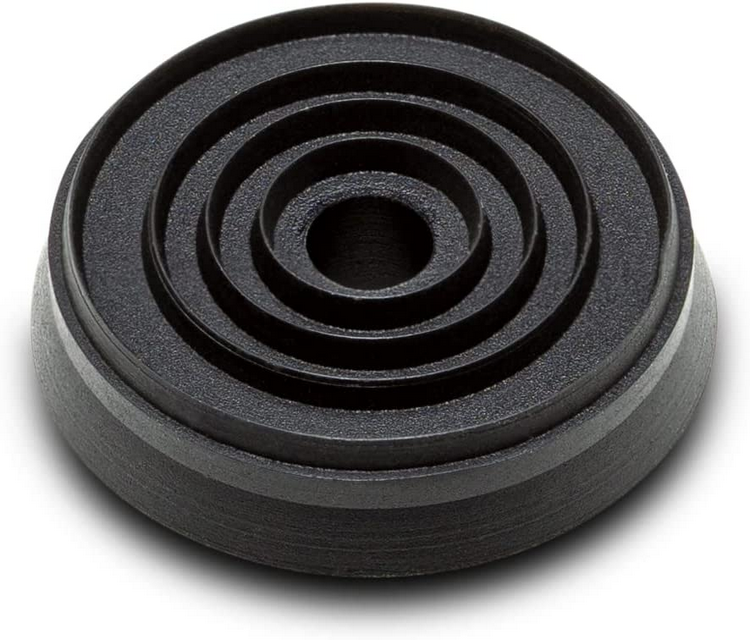
3. Tighten or Replace Your Keurig’s Faulty Upper Gasket
Fact:
The gasket is a small silicone component that serves as a protective seal between the water hose and the K-Cup.
Sadly:
If your Keurig coffee maker is dripping after a brew, then it is likely that the device’s upper gasket is faulty or misplaced.
It could also be because the gasket is not accurately aligned with your Keurig’s puncture needle.
Now:
If the gasket is missing or has been damaged beyond repair, you should arrange for a replacement gasket. An alternative to the gasket would be a thick rubber band which can be used as an immediate fix.
Also:
Ensure your gasket is properly aligned with the needle. You can do this by closing the gaps between the puncture needle and K-Cup.
Certainly:
Your Keurig should stop dripping after brewing, and you can be free from the stress of cleaning up horrible messes.
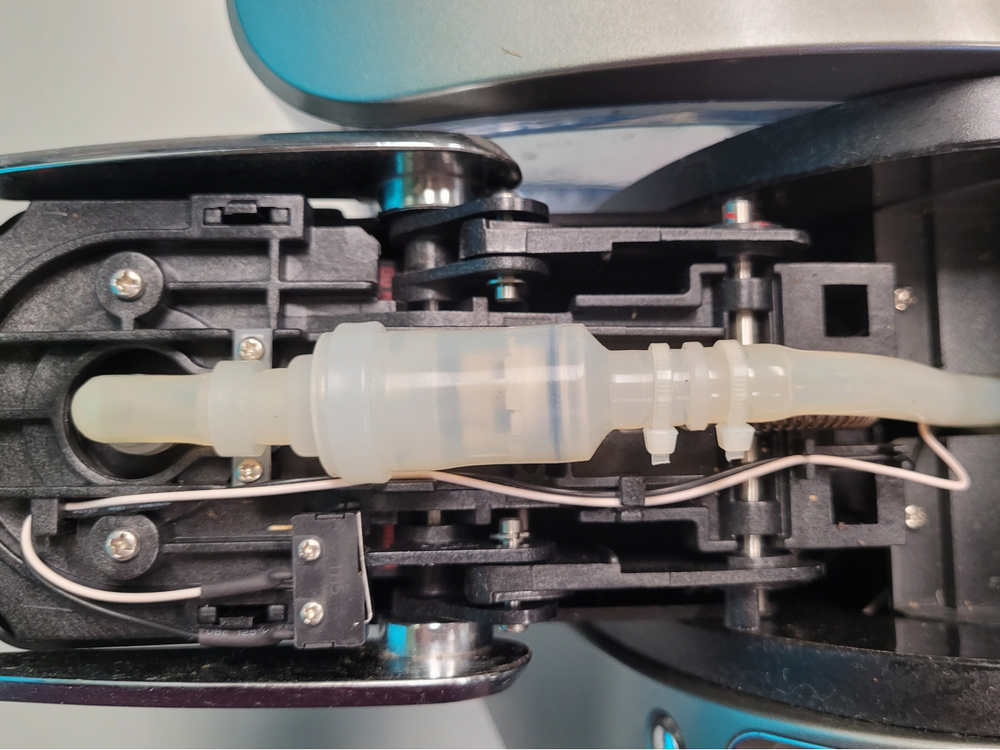
4. Clean or Repair the Check Valve Inside Your Keurig
Understand this:
The check valve is typically installed to prevent backflow while transporting water from your Keurig’s reservoir to the coffee maker.
You see:
When obstructed by debris, the check valve loses some of its functionality and causes leaks after brewing.
So:
It would be wise to clean, unclog or repair the check valve if faulty. You could hire a skilled technician to get the job done or attempt clearing it yourself.
Here’s what to do:
Unscrew the top of your Keurig, then clip the zip tie that seals the check valve with the tube. After this, detach the check valve from both sides of the tube.
Next:
Unclog your detached check valve by blowing through it, running water through it, or soaking it in a vinegar-water mixture.
When you’re done:
Reassemble your Keurig coffee maker; it should work fine and without leaks.
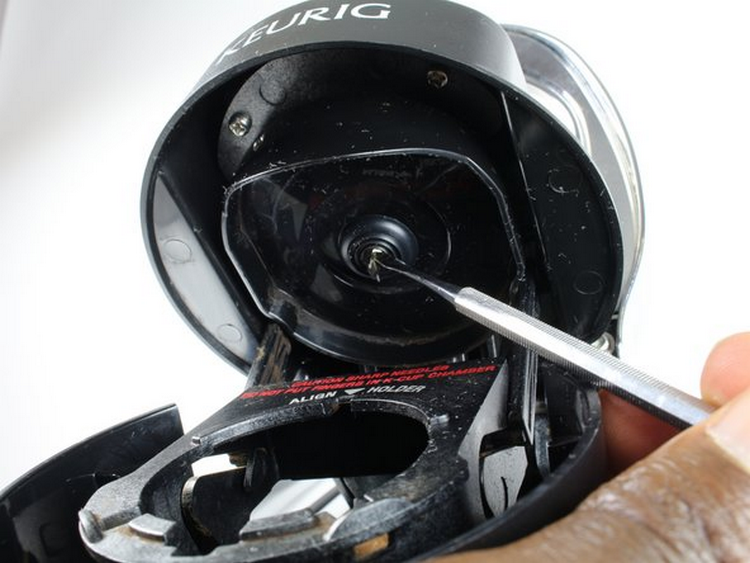
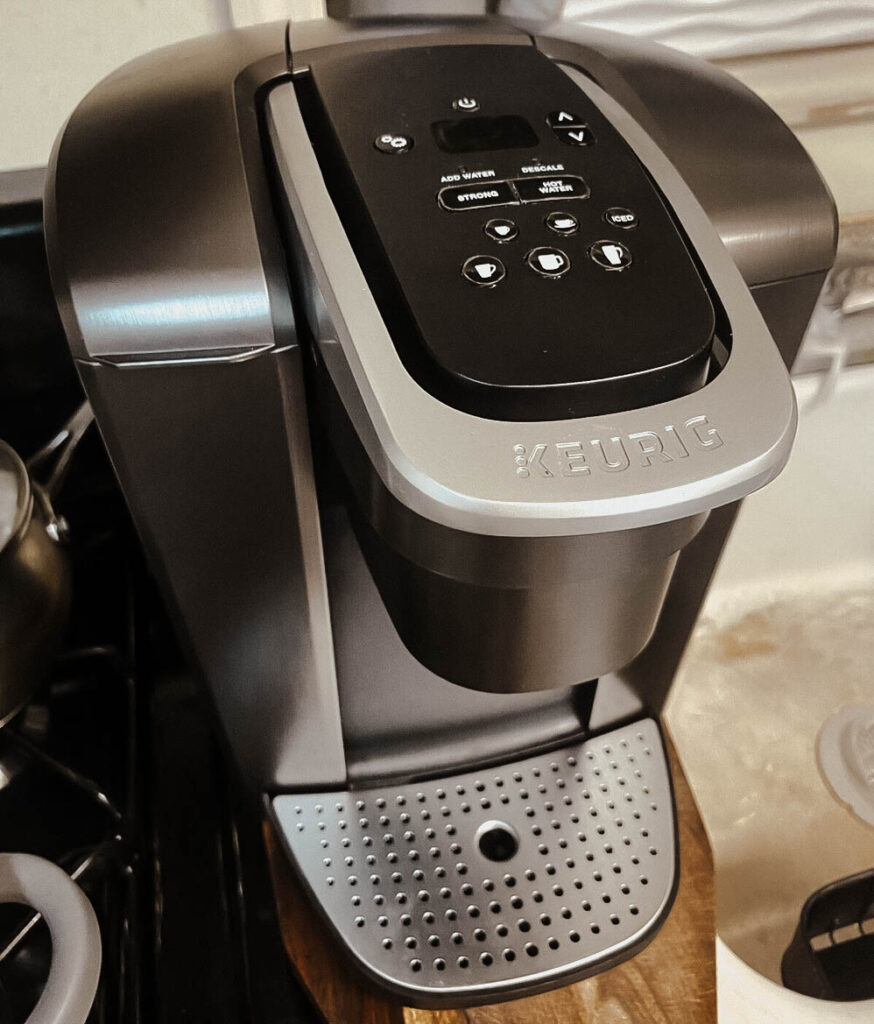
5. Clean and Unclog Your Keurig Needles
Quite frequently:
Debris like coffee grounds or foil gets stuck in your Keurig needles leading to leaks after brewing. A nifty fix is to unclog them and you have two available methods to attempt.
What are the methods?
You can either run multiple water-only brewing cycles or use a straightened paper clip to dislodge the debris in the needles.
After this:
Your Keurig should stop leaking after brewing and relieve you of the stress that comes with managing a leaking coffee maker.
Note:
Regularly cleaning and unclogging your Keurig needles is a preventive measure against leaks and other malfunctions.
Models Most Affected
Unfortunately:
Many Keurig coffee makers drip after brewing; however, a few models have been reported to be the most susceptible to this problem.
Look:
Here are the Keurig models plagued with susceptibility and healed with troubleshooting tips.
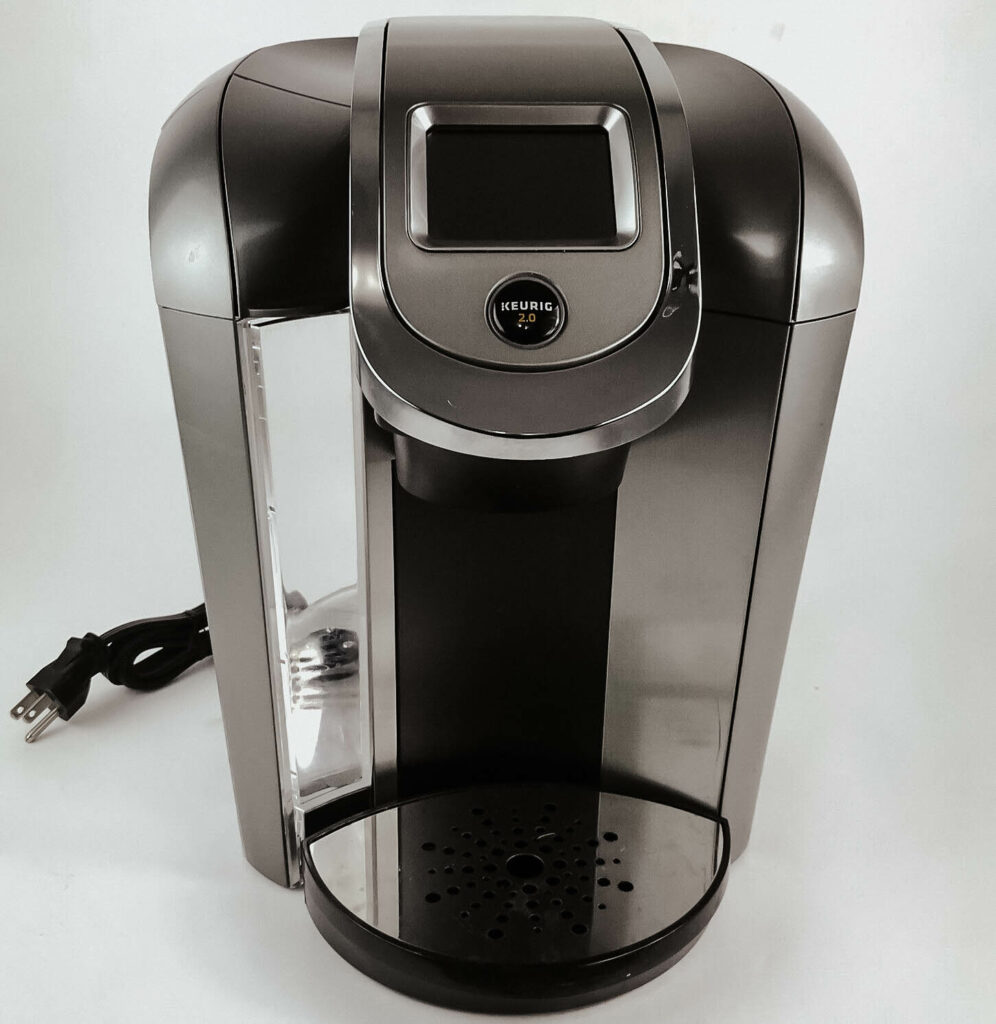
1. Keurig 2.0
Get this:
The Keurig 2.0 is a single-serve coffee maker famed for its many malfunctions despite the promise of an efficient coffee brewing system.
Here’s the thing:
This model was discontinued in 2019 after clients’ backlash concerning leaking and other system defects.
2. Keurig Elite K90
Listen:
The Keurig Elite K90 is arguably Keurig’s most powerful coffee maker with an abundant reservoir, LCD, and other special features.
Regrettably:
Many users of this model have reported that it sometimes drips after brewing.
However:
The problem is easily correctable, and the Keurig Elite K90 is still a great buy.
Conclusion
All in all:
It is always a sad day when a Keurig develops some malfunction that reduces its efficiency and tarnishes its design.
As such:
If your Keurig coffee maker is dripping after brewing, endeavor to detect the fault, its reason, and practical solutions to fix it.
On that account:
It would be best if you tried these helpful troubleshooting suggestions to terminate the leak.
- Avoid overfilling your Keurig’s water reservoir
- Descale and unclog your Keurig coffee maker
- Tighten or replace your Keurig’s faulty upper gasket
- Clean or repair the check valve
- Clean and unclog your Keurig needles
Absolutely:
Your coffee maker should return to its peak state after employing any of these recommendations, and your Keurig should be drip-free.
Now:
If your Keurig is still leaking after brewing when you have tried all our suggestions, you should not hesitate to call customer support. They are friendly and readily available to cater to your Keurig-related needs.
Don’t forget to do this!
Please share your opinions, additions, and questions in the comment section below. We would love to hear from you!
Frequently Asked Questions
There are various reasons why your Keurig could be dripping after brewing.
These include:
Overfilling your Keurig’s water reservoir, a clogged system, or a loose or broken upper gasket.
You should take note of a few things to stop your Keurig from leaking.
Now:
It would help if you tried descaling your Keurig, unclogging the needle, replacing a broken gasket, or repairing the check valve.
Your Keurig could be dispensing too much water because the water reservoir is misaligned with the coffee maker.
Easy fix:
Ensure the reservoir is properly placed and if your Keurig is still dripping, unplug it for a while.
To clean a Keurig water pump, you’ll need to unscrew your Keurig’s top and detach the hoses from the end of the check valve.
Then:
You unclog the check valve and clean the water pump.
A Keurig would typically be able to function for about three to five years.
Nonetheless:
You should look out for signs that will let you know when it needs to be replaced or repaired.
Your Keurig could trickle after brewing because excess limescale has clogged the system or the exit needle needs cleaning.
Thankfully:
A simple descale and clean would do wonders for your Keurig.
To unclog your Keurig water line without disassembling it, you must run several water-only rinse cycles.
To do this:
Fill your Keurig’s water reservoir and run a brewing cycle without a K-Cup. Discard the water it produces; your Keurig water lines should be fully unclogged.