It goes without saying:
Brewing is the core function of a coffee maker. The infusion of hot water into your coffee grounds is the process responsible for your hot and fresh cup of coffee.
Now:
Brewing is a technical and difficult process to do unaided. Fortunately, Keurig coffee makers automate each step of the process, giving you a delightful cup of coffee after a few minutes.
But:
“What do I do if my Keurig won’t brew?”
Well:
Take a deep breath and relax. Here are a few things you can try to get your Keurig coffee maker working again.
Table of Contents
Keurig Won’t Brew
You were probably looking forward to a cup of fresh coffee. It sucks that your Keurig won’t work, but there are a few troubleshooting methods you can try to get it working. Ensure your Keurig is properly set up, reset your Keurig, clean your machine or call customer service.
1. Check Your Setup
Now:
Starting your Keurig coffee maker has likely become a part of your daily routine. But take a step back because you might have missed something.
So:
Go back to the drawing board. Do you have everything set up correctly? It may seem like a hassle, but create a checklist and work through it one at a time.
For instance:
Make sure you plug in your coffee maker correctly. Also, check that your k-pod is properly inserted and ensure your water reservoir sits properly in its slot.
Also:
Check your water levels. Fill your water reservoir to just underneath the max line before you start brewing.
Finally:
Check your settings and make sure everything looks right. Your coffee maker may not be brewing because of something simple.
2. Reset your Keurig
If your machine doesn’t brew after double-checking your setup, it may be time to reset your Keurig.
You see:
Resetting the machine allows enough time to clear any electrical issues your brewer may have. Unfortunately, Keurig coffee makers do not have a reset button.
However:
There is a procedure you can use to reset your Keurig coffee maker quickly. Follow each step to the letter.
Now:
- Step 1: Open and close the brew head.
- Step 2: Power down the device and disconnect it from the socket.
- Step 3: Extract your water reservoir and set it aside
- Step 4: Set the machine aside and let it sit for thirty minutes to an hour.
- Step 5: Reassemble your coffee maker and try to brew normally.
This should alleviate any electrical problems your brewer may have and allow you to brew your coffee as intended.
3. A Love Tap
As with any machine that works with solids and liquids, your Keurig is vulnerable to debris build-up.
You see:
The fine coffee grounds from your K-pod can settle at different key areas within your coffee maker, stopping it from brewing.
Fortunately:
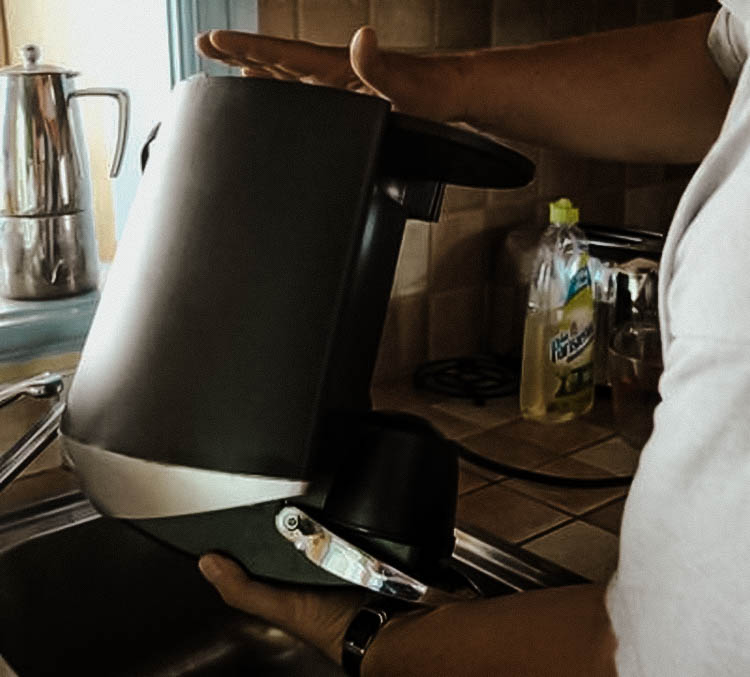
You can fix this while resetting your Keurig coffee maker. Gently tap the bottom of your Keurig coffee maker while holding it upside down.
Now:
This should dislodge any loose debris and will likely get your coffee maker brewing again after the reset.
4. Clean the K-cup Holder
Some Keurig coffee makers allow you to grind fresh coffee beans, but most of them use K-cup pods.
You see:
A K-cup pod comes prepacked with finely ground coffee and is convenient for quick and easy brewing.
However:
Frequent use of your coffee maker can clog the K-cup holder with debris. Consequently, your Keurig coffee maker won’t brew if the K-cup holder is clogged.
Fortunately:
The K-cup holder is easy to remove. Your Keurig K-cup holder should consist of 3 key parts, depending on the model you own.
- Step 1: Power off your Keurig and unplug it.
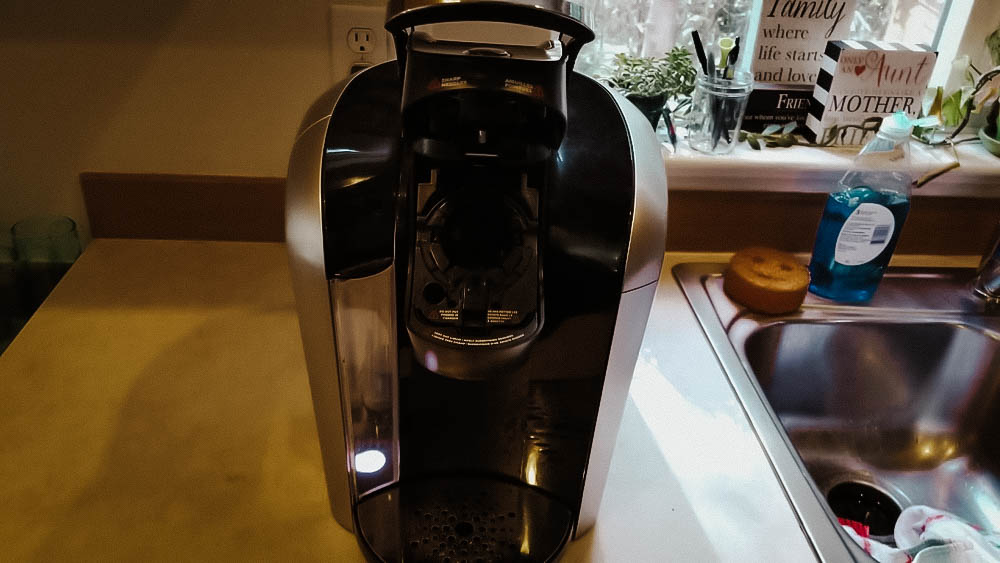
- Step 2: Lift the top to reveal the K-cup holder.
- Step 3: Locate the drip nozzle and lightly push against the circle to release parts one and two of the K-cup holder.
- Step 4: The third part is a little tray that you can easily remove separately after disengaging parts one and two.
- Step 5: Locate the two latches on either side of the conjoined piece.
- Step 6: Press it down and push up to separate parts one and two.
You will need to separate the K-cup holder into parts if you want to clean it properly. Make sure to follow each step to the letter to avoid damaging your machine.
5. Clear the Entry and Exit Needles
Keurig needles ensure hot water can easily flow into the K-cup.
As such:
Both needles must be debris-free for your Keurig coffee maker to brew effectively.
However:
They can easily be clogged by coffee grounds and minerals found in water. Thankfully, these needles are straightforward to clean.
Firstly:
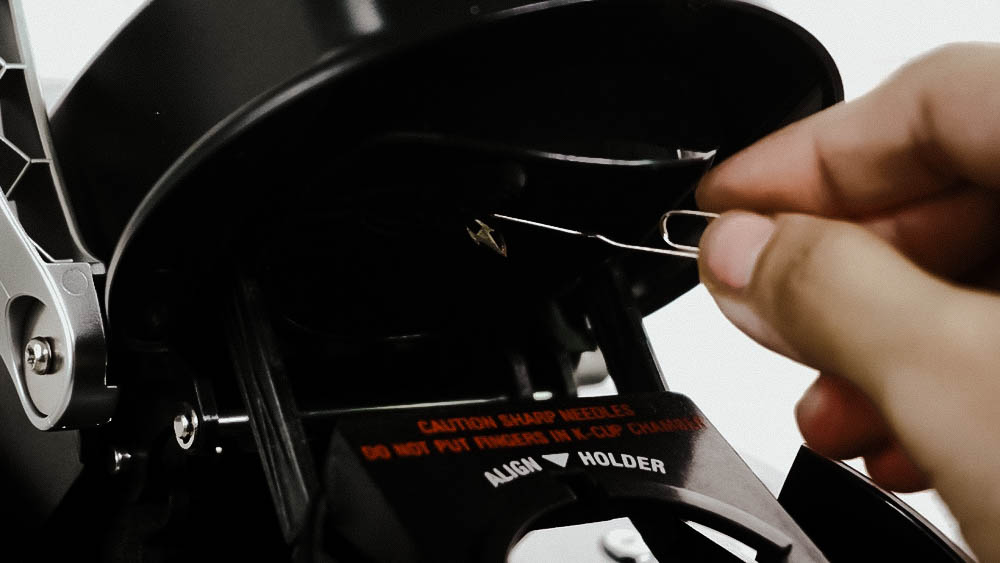
Note that the entrance needle is sharp. So, be careful while working with it. You will need to secure a paperclip or a handy tool for cleaning the needle.
- Step 1: Unplug your coffee maker.
- Step 2: Lift the head of your coffee maker so you can see the pod holder.
- Step 3: Disassemble the pod holder and gently use the paperclip to clear out any debris in the exit needle.
- Step 4: Clean the pod holder parts properly under clean water and set them aside.
- Step 5: Locate the exit needle on the brewer’s head. Gently use the paperclip to clear any blockage in either of the exit holes.
- Step 6: Let your brewer sit unplugged for at least half an hour.
- Step 7: Put it back together and start a brew cycle.
Your coffee maker should brew after this process.
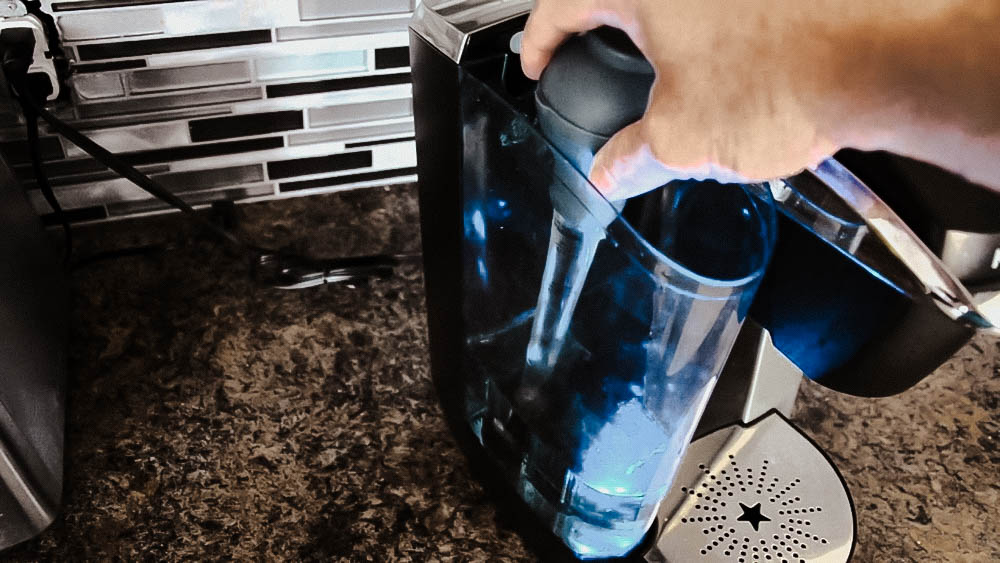
6. Clean the Water Reservoir
Now:
The water reservoir may look different depending on what model of Keurig coffee maker you own.
However:
They all serve the same function. The coffee maker draws water from the reservoir and heats it to make coffee.
Now:
Your water reservoir could develop a mineral build-up at the bottom, preventing water from flowing into the machine. This happens quickly if you work with hard water.
But:
You can easily clean the reservoir and reservoir filter. Your coffee maker should brew fine right after.
7. Contact Customer Service
While the above methods are great for personal troubleshooting, your Keurig may still not brew.
Thankfully:
You can call in the calvary by contacting Keurig customer service. They are always willing to help you with any coffee maker-related problems you might have.
Models Commonly Affected
Any Keurig coffee maker can suddenly stop brewing, regardless of the model.
However:
Here are a few models that are commonly associated with this problem.
Keurig Single-Serve
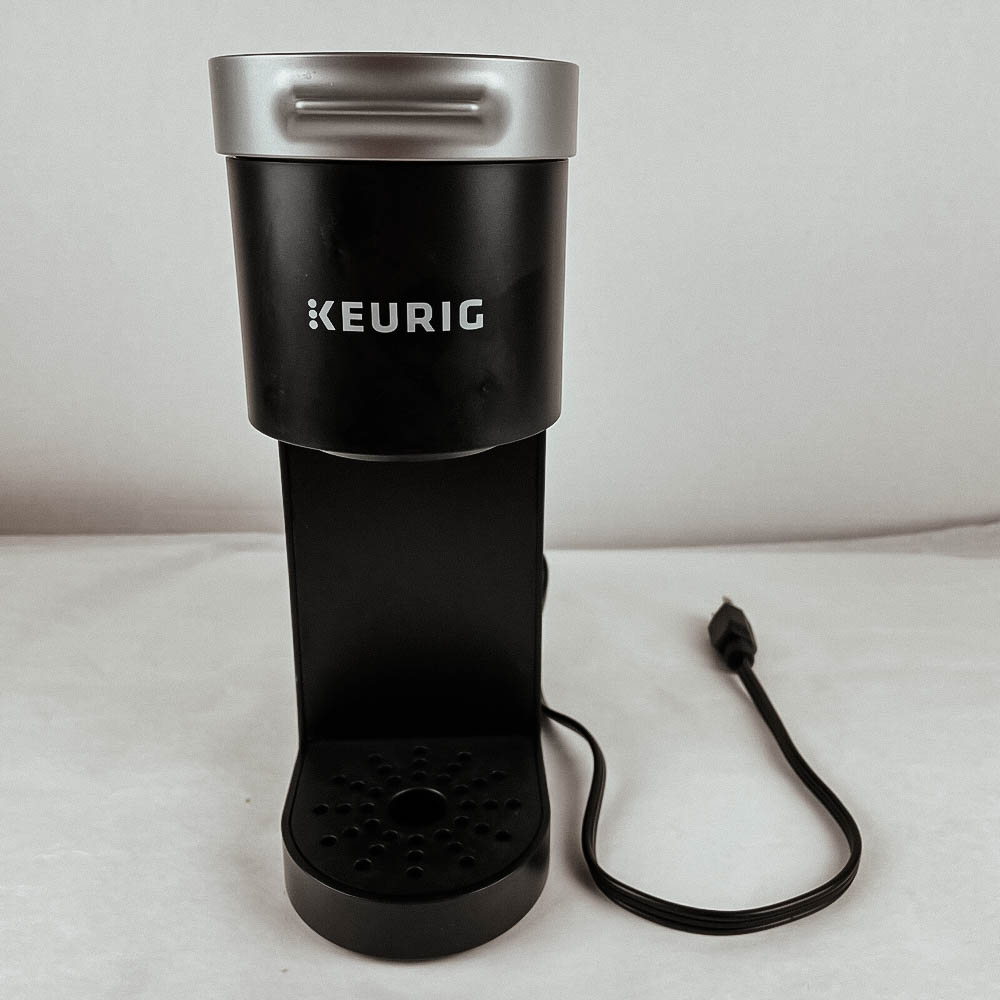
The Keurig single-serve is also known as the Keurig mini. It’s a compact coffee maker that holds enough water for one cup of coffee.
Sadly:
Due to its design, the Keurig mini is susceptible to problems that cause it not to brew. Everything from its small reservoir to the needle design.
As such:
It requires frequent maintenance. However, It’s a wonderful coffee maker when properly cared for.
Other models that usually develop this problem are the Keurig K-Supreme, K-15, 2.0, and Duo.
Conclusion
You can troubleshoot your coffee maker if it refuses to brew. You just need to follow a few easy steps.
- Check your setup
- Reset your Keurig
- Tap your machine lovingly
- Clean the K-cup holder
- Clear the entry and exit needles
- Clean the water reservoir
- Contact customer service
Hopefully, you find one of these solutions helpful. If you do, feel free to let us know in the comments below. Also, feel free to mention any solutions you think we may have left out!
Frequently Asked Questions
Here are a few ways you can fix the problem. Ensure it is plugged in correctly, reset your coffee maker, clean the machine, or check for electrical damage.
And:
If all else fails, contact Keurig customer service.
Your Keurig may have a specific problem that is preventing it from brewing. Run through the above-listed troubleshooting methods so you can figure out and resolve the issue.
The only way to get your Keurig to brew is to find and resolve the issue preventing it from doing so. Doing anything else may damage it further.
You may not have the right pods for your Keurig coffee maker. Check what pods your Keurig coffee maker supports before purchasing them.
Your Keurig won’t dispense coffee if you don’t place a K-cup pod in the pod holder. Make sure it isn’t empty before you start brewing.
You can unclog your Keurig needle with a paper clip. Carefully insert the pin into the needle recesses and shake out any debris. Note that the Keurig needle is sharp, so you must be careful when cleaning it.