Fact:
Keurig coffee makers are programmed with error messages that help users understand what could be wrong with their coffee makers.
You see:
These error messages have unique codes and can be triggered under different circumstances.
Now:
The “water under pressure” warning could take effect in the middle of a brew. It usually indicates that something is blocking the water flow in your machine.
As such:
The internal pressure can get to dangerous levels. But here is how you can fix this error message.
Table of Contents
Keurig Water Under Pressure
Higher water pressure could damage sensitive parts within your machine. So, it is important to address the “Water Under Pressure” problem swiftly. You can troubleshoot the problem by descaling your coffee maker, cleaning the exit needle, and checking the sensor for damage. You may want to opt for a maintenance tool when cleaning your needle.
1. Clean the Needle With a Maintenance Tool
The brewing process works by infusing the grounds in a coffee pod with hot water. Your Keurig needle punctures the top of the pod and introduces the hot water.
Sadly:
This won’t work if the needle is clogged. Water would no longer be able to flow freely into coffee pods, and it could lead to other problems.
Naturally:
Coffee grounds can easily get into the needle holes from the pod, blocking the water flow.
Thankfully:
This won’t happen every time you try to brew coffee. But cleaning the entrance needle as often as possible is still important.
Now:
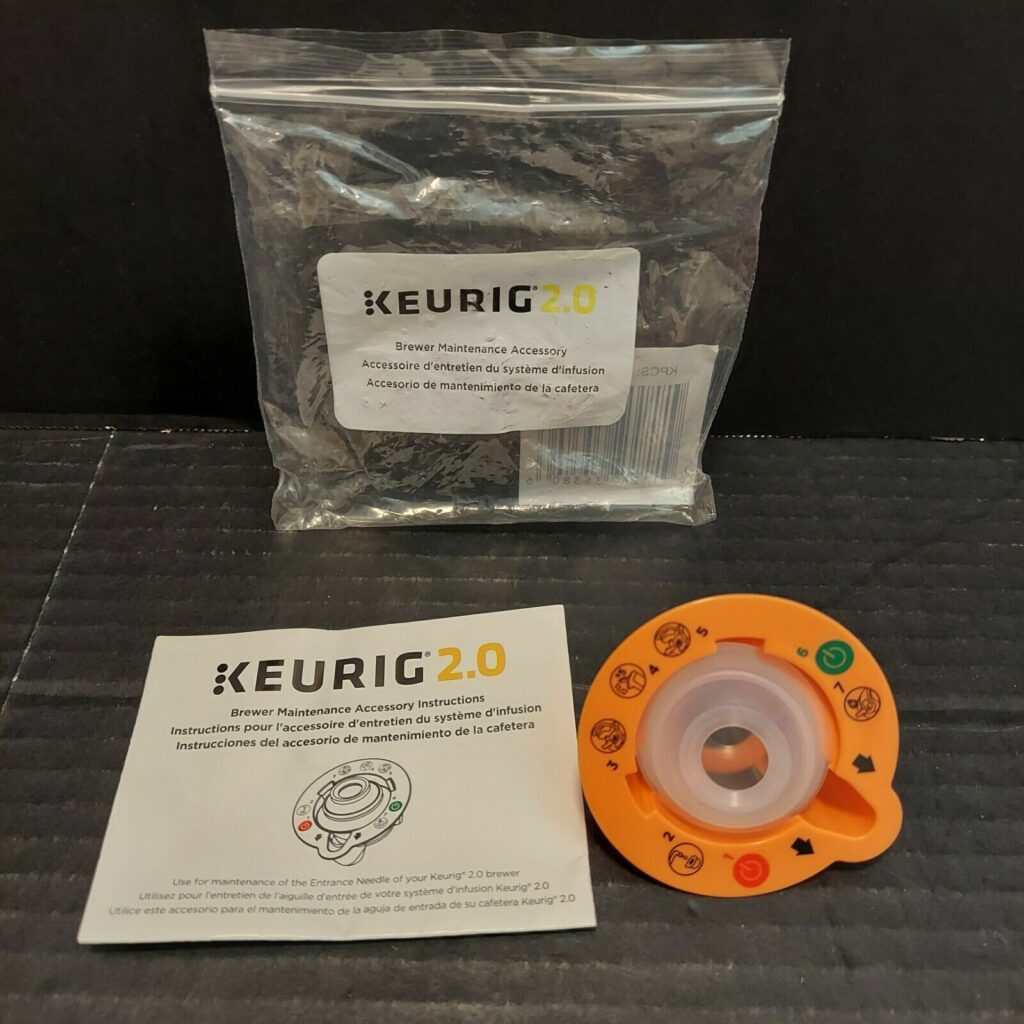
Here is how you can do this with the Keurig 2.0 maintenance tool.
- Step 1: Unplug your Keurig coffee maker.
- Step 2: Check that the K-cup holder is empty.
- Step 3: Grab the provided needle maintenance tool and fill the little cup at its center with tap water.
- Step 4: Carefully place the tool in the K-cup holder. It is designed to sit as comfortably as a K-cup.
- Step 5: Close the lid and let it be for half a minute.
- Step 6: Open and close the lid five more times.
You should notice small coffee debris in the maintenance tool when you take it out of the K-cup holder.
Thankfully:
This means that you have successfully removed the obstructions inside your Keurig entrance needle. Your coffee maker should be able to brew normally now.
2. Clean the Needle With a Paper Clip
As handy as the maintenance tool is, not everyone has access to it.
Thankfully:
You can still clear your Keurig’s entrance needle. To do this, you need to prepare a paper clip, a clean towel, and a bowl of warm water.
Note:
Be sure to unplug your machine from the power outlet before you begin this maintenance routine. Here’s what to do.
- Step 1: Lift the head of your coffee maker and make sure it is empty.
- Step 2: Look just behind the nozzle and gently push up on the flat protrusion connected to the K-cup holder.
- Step 3: Lift out the two-part K-cup holder. Separate it by pushing down and lifting up the identical protrusions on each side.
- Step 4: A tray should sit just under the 2-piece K-cup holder. Wash the three pieces under running water and make sure to clean them properly.
- Step 5: Soak the towel in some warm water and clean the K-cup holder area. Be sure to remove any coffee grounds you may find.
- Step 6: Take the paperclip and stick it into the holes in the entrance needle. Really dig in there and remove all the packed coffee grounds you can.
- Step 7: Rinse the cloth and soak it in warm water. Use it to wipe around the needle.
Be careful when cleaning the sharp entrance needle. Run a clean water brewing cycle to clear out any missed debris after cleaning the needle.
Now:
Your coffee maker should brew just fine.
3. Descale the Machine
While the “Water Under Pressure” indicator typically pops up when the needle is clogged, your entire machine may need descaling.
You see:
It is possible that a clog somewhere in the machine is also causing a pressure build-up. The warning message may persist after cleaning the needle if this is the case.
Thankfully:
You can clear the clog within your machine by descaling it. This is simple enough. Just do the following.
- Step 1: Lift the brewer’s head and make sure the K-cup holder is empty.
- Step 2: Grab your bottle of descaling solution and prepare an equal amount of water.
- Step 3: Remove the water reservoir and fill it with equal parts water and descaling solution.
- Step 4: Replace the water reservoir and start a normal brew. Stop it just as the water starts to dispense or when the error message pops up.
- Step 5: Let the coffee maker sit for ten minutes. This should give the solution time to weaken the clog and dissolve the scales in your machine.
- Step 6: Place a large cup under the nozzle and restart the brewing process. This should fill it with murky water.
- Step 7: Empty the cup and refill the water reservoir with clean water.
Repeat the brewing process with clean water until the liquid dispensed is completely clear. This should eliminate the clog and return pressure within your machine back to normal.
Note:
You can replace the descaling solution with a mixture of vinegar and lime juice. Make sure the solution is concentrated enough to get the job done.
4. Check for a Faulty Sensor
Note:
There’s no need to tear apart your coffee maker. This is just something for you to note as a worst-case scenario.
Now:
If you have tried all the suggested methods above and the warning message persists, then you may have a faulty pressure sensor.
You see:
Your machine has different sensors that help it keep track of the different factors surrounding it. The pressure sensor lights up when there is a build-up within your machine.
Sadly:
The warning message will keep popping up if this sensor is damaged. The best course of action is to call in an expert to replace it.
Or:
You could contact Keurig Support, and they will take it from there.
Models Most Affected
This issue is most common with the Keurig 2.0 brand of brewers. Below are a few examples.
1. Keurig K575
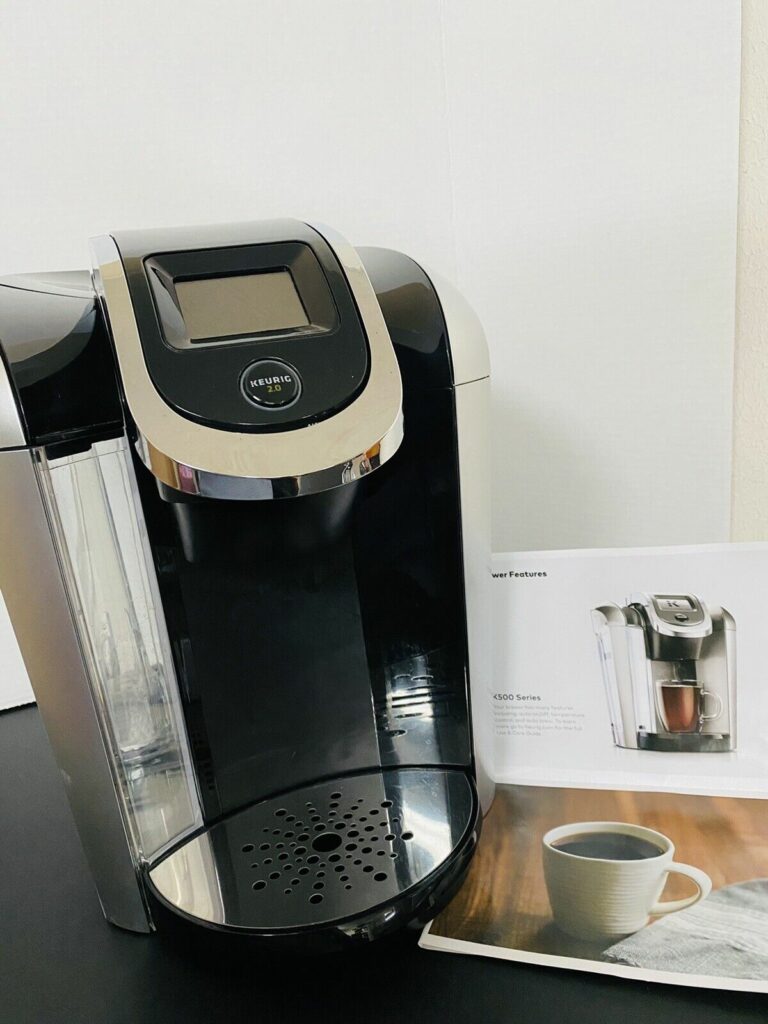
The K575 is a classy model that comes equipped with a long list of useful functions and settings. It falls under the 2.0 brand of brewers.
Sadly:
The metal entrance needle can accumulate coffee grounds, eventually triggering the “Water Under Pressure” warning message.
As such:
The needle should be maintained frequently.
2. Keurig 475
The 475 is also under the 2.0 brand of brewers. It is a single-cup brewer that also has a metal needle that can occasionally get clogged.
As such:
Be sure to clean the needle as frequently as possible, and be careful when handling it. You wouldn’t want to damage the pressure sensor.
Conclusion
The “Water Under Pressure” indicator message may not pop up often, but it must be dealt with swiftly when it does.
Or else:
You could permanently damage some sensitive parts within your machine. To this end, you can clear this error message by trying the following.
- Clean the needle with the maintenance tool.
- Clean the needle with a paper clip.
- Descale the machine.
- Check for a faulty sensor.
Be careful when handling the sharp needles to avoid cutting yourself. One of the above solutions is bound to clear the message.
In addition:
Contact Keurig customer service if the problem persists. We hope you found this guide useful. Feel free to leave your comments and suggestions in the section below!
Frequently Asked Questions
Your Keurig is likely displaying this warning message because the entrance needle is clogged. This will cause pressure to build up in the machine head.
Stop the brewing process when you see this indicator, and clean the needle with an appropriate tool.
You can remedy this error message by cleaning your Keurig needle. Be careful when doing this to avoid getting cut.
In addition, it may be time to descale your machine if the warning message persists after cleaning your needle.
It depends on your coffee maker model. The Keurig 2.0 brewers have a maintenance tool that cleans the needle easily.
Simply fill this tool with water and place it in the K-cup holder. Open and close the lid five times, and you’re done.
However, you can achieve the same results by using a paper clip to dig around the nooks in your needle and remove debris.
Yes. The pump within your machine uses the pressure principle to draw water from the reservoir and move it around your machine.
However, the pressure is maintained at a safe level as long as the water has an exit.
Something could be disturbing the water flow in your machine. You can fix this blockage by descaling your coffee maker.
Be sure to use the right solution when descaling, and properly rinse out the Keurig coffee maker after.
Thank you, Erica, for this useful compilation. I was able to save my Keurig 2.0 from the electronic graveyard and quickly restore it back to health using the first method & the video above.
With much gratitude, Happy Holidays!
Welcome. Happy Holidays!