“If you won’t be using your Keurig machine for a long time, drain and store it properly.” Surely you’ve heard this before.
But why’s this, and how do I drain it? You may ask:
Well, this is because not draining your brewer before packing it can result in the growth of mold and bacteria. Thus, making your coffee unhealthy and adversely affecting the performance and longevity of your machine.
That said:
Let’s show you how to drain your Keurig.
Table of Contents
Materials Needed
- Keurig machine (Needless to say)
- A bowl to receive water from the machine
Step-by-Step Process on How-To Drain Your Keurig Machine
Here, the idea is also to trick the brewer into believing there’s enough water in the main reservoir to brew coffee. It is a straightforward process that’ll take only a couple of minutes.
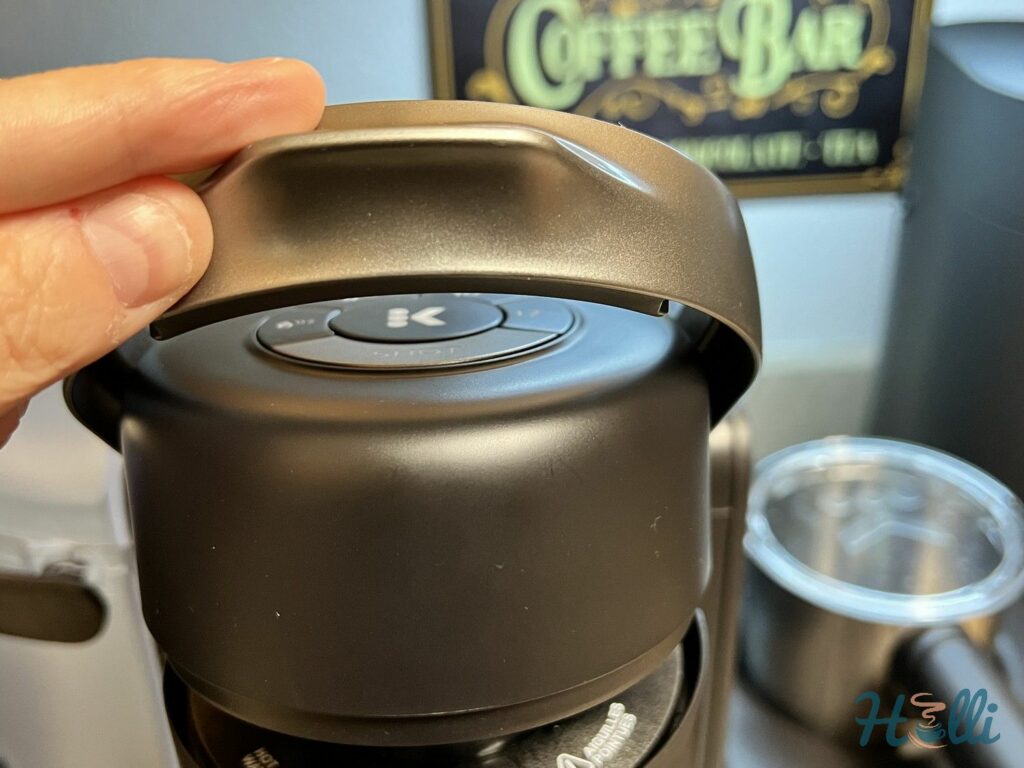
Step 1: Remove the Reservoir
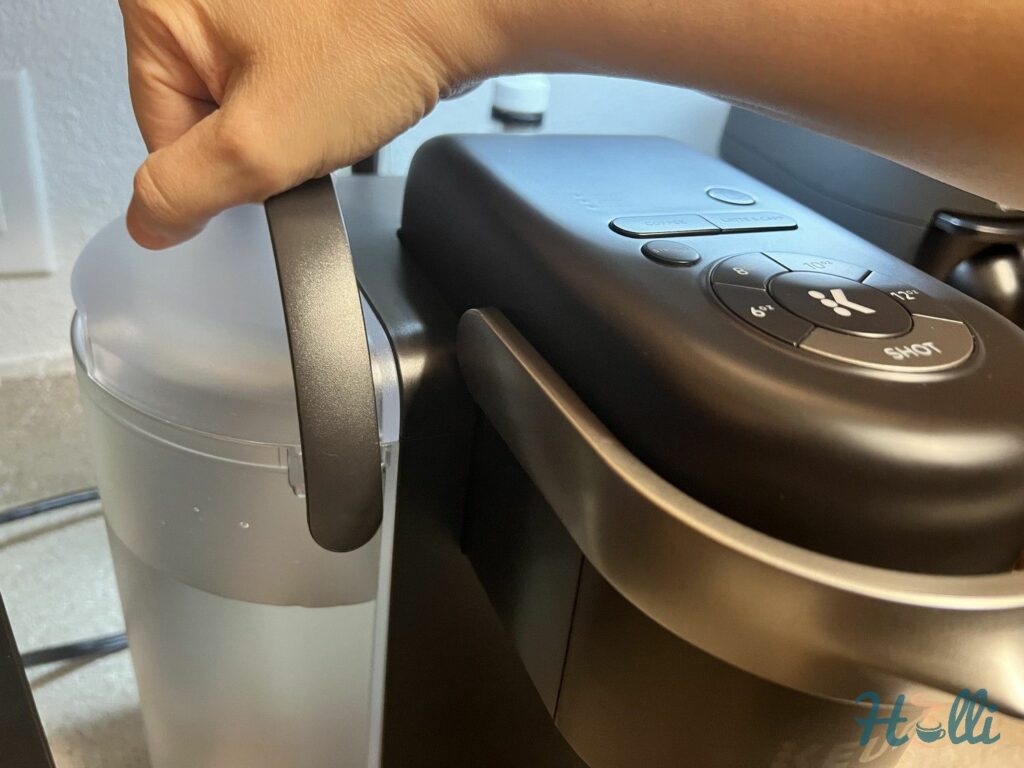
To start, detach the water reservoir and power on the brewer. The brewer will automatically detect that the reservoir has been removed; therefore, there’s no water to brew.
This will prompt the “add water” light to blink for a few seconds and turn stagnant afterward.
Step 2: Reinstall the Reservoir
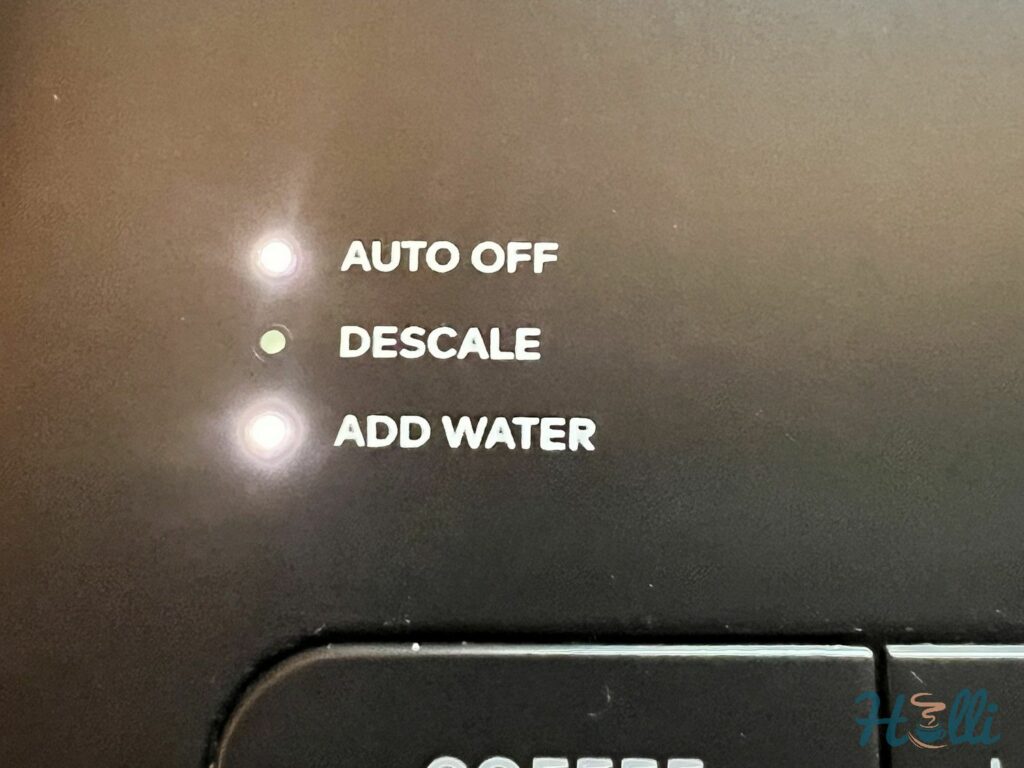
After the “add water” light becomes solid, fill up the reservoir and reinstall it. Once you do this, the machine will know that there’s enough water to brew, and the add water light will turn off.
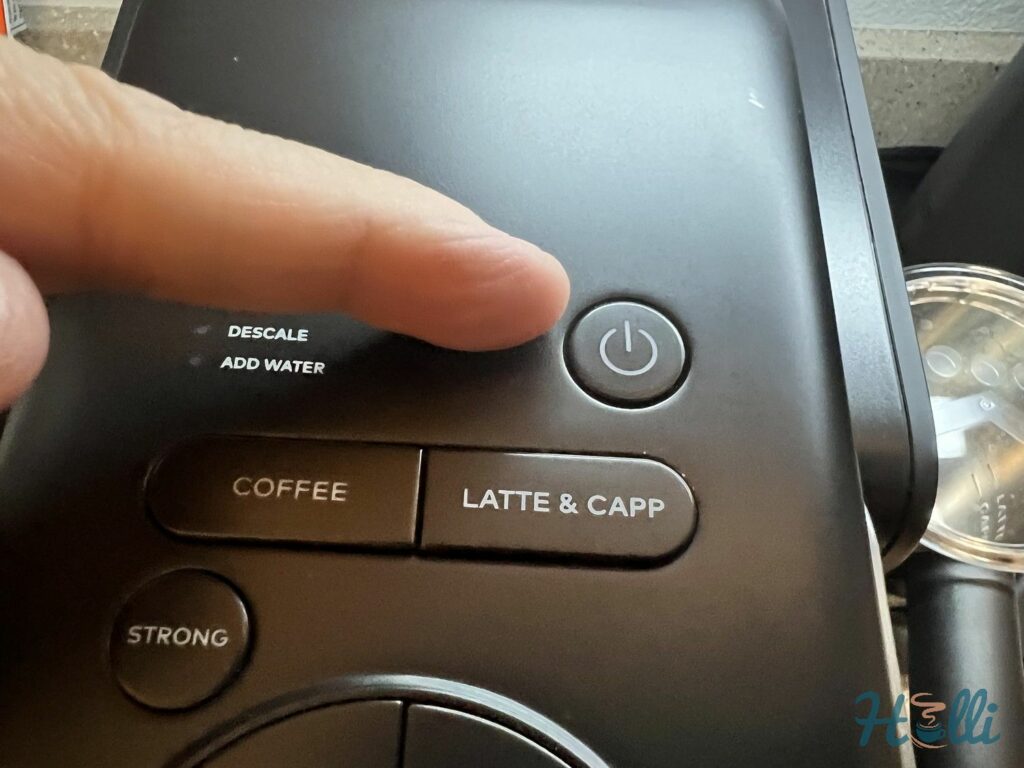
Step 3: Select the Biggest Cup Size

Once you see the light go off, select the biggest cup size available. Ensure there aren’t any K-Cups or coffee grounds in the brewer.
Step 4: Swiftly Remove the Reservoir
Now, here comes the most important part:
After selecting the biggest cup size, remove the reservoir immediately. Since the brew cycle is already in progress, the machine will have to use water from the inner tank as the main tank is missing.
Since there are no coffee grounds in place, the brewer will only dispense water from the inner tank, thus draining itself.
Step 5: Repeat the Process
There might still be some water left inside the machine, so you may need to repeat the process multiple times.
To do this:
Lift the handle of the K-Cup compartment of the machine. This will reset the machine and allow you to repeat the process until water no longer comes out from the inner tank.
Note:
This draining method may not apply to all Keurig models. If this method doesn’t work for your brewer, you may contact Keurig Customer Service for help.
Coffee Holli’s Useful Tips for Draining Your Keurig Coffee Maker
- Drain your Keurig regularly. It shouldn’t only be because you don’t plan on using it for a long time. If you’re using the brewer for the first time in 3-5 days, try draining it before use. Using water that has stayed stagnant inside the machine for that period may no longer be healthy.
- Descale your brewer every 3 to 6 months. This will help eliminate mineral buildup and limescale from the inner tank and tubes. Thus, further preventing air bubbles, bacteria and clogging in the inner tubes.
- After draining your machine, store it at a frost-free temperature. Also, ensure that you keep the brewer upright so it doesn’t leak from the inner tank.
Conclusion
Leaving water in your Keurig for a long time invites mold and bacteria, which is bad for your health. But you can prevent this by draining your coffee.
Here’s how you do it:
- Remove the reservoir and turn off the machine
- Once the machine detects there’s no water, fill up the reservoir and reinstall it
- Select the biggest cup size and remove the reservoir immediately
- Lift the handle of the K-Cup compartment to reset and repeat the process
- Store the brewer in an upright position and in a frost-free environment
- Draining your brewer helps improve its efficiency and lengthens its longevity
By now, you know why leaving water in your Keurig for a long time is a bad idea. But also, you know how to drain and maintain it.
If there’s something else you’d like to know about the topic, reach us via the comment box below.
Frequently Asked Questions
Ordinarily, you should drain your Keurig if you don’t plan on using it for a long time. However, if you fail to do this and you notice that your coffee tastes funny later on, it might be because of mold or bacteria. In that case, you must drain the brewer.
No, you can’t drain your Keurig without removing the tank. The idea is to allow the brewer to pump water from the inner tank until it’s empty. So, with the main tank installed, the brewer will continue using water from it.
Keep your Keurig in an upright position in a frost-free environment for the ideal storage.