
Fact:
Making a good coffee with your Keurig coffee maker takes more than just inserting a K-Cup and hitting the brew button.
You must clean and descale your machine regularly to keep it free from mold and bacteria, and calcium deposits. In turn, this helps improve the quality of your coffee and extend the machine’s lifespan.
So, without further delay:
Here’s how to descale and maintain your Keurig in five easy steps.
Table of Contents
Materials Needed
- Keurig machine
- Glass measuring cup
- Access to sink
- Detergent
Step-by-Step Process to Descale Your Keurig Machine
Step 1: Remove the Water Reservoir
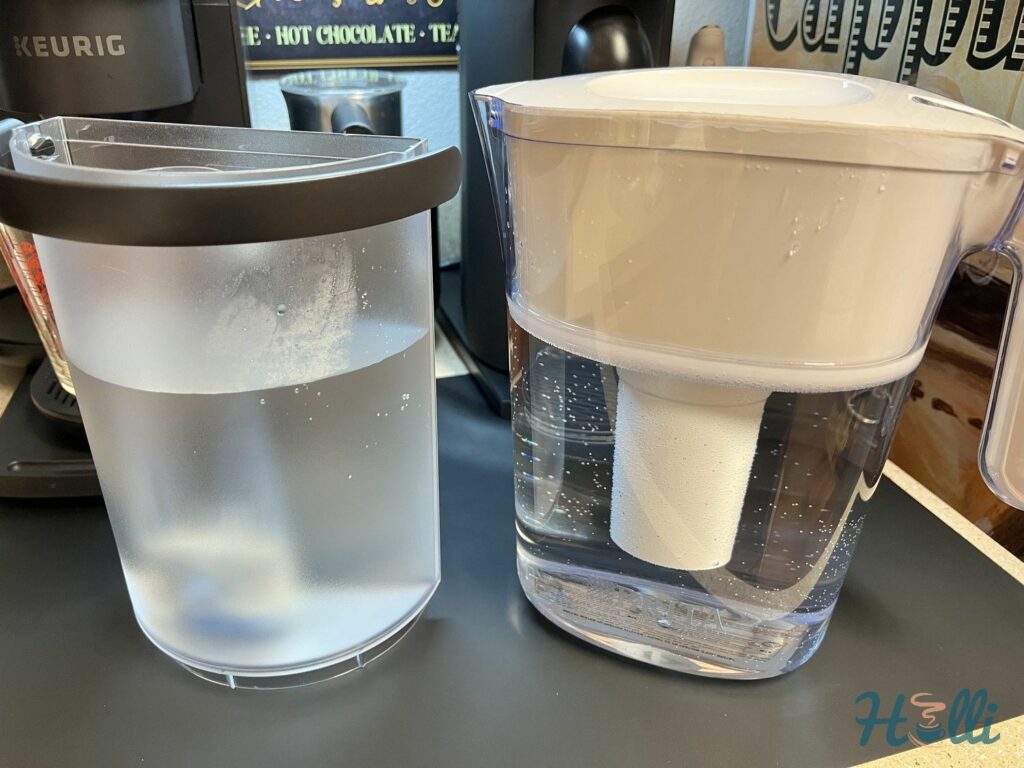
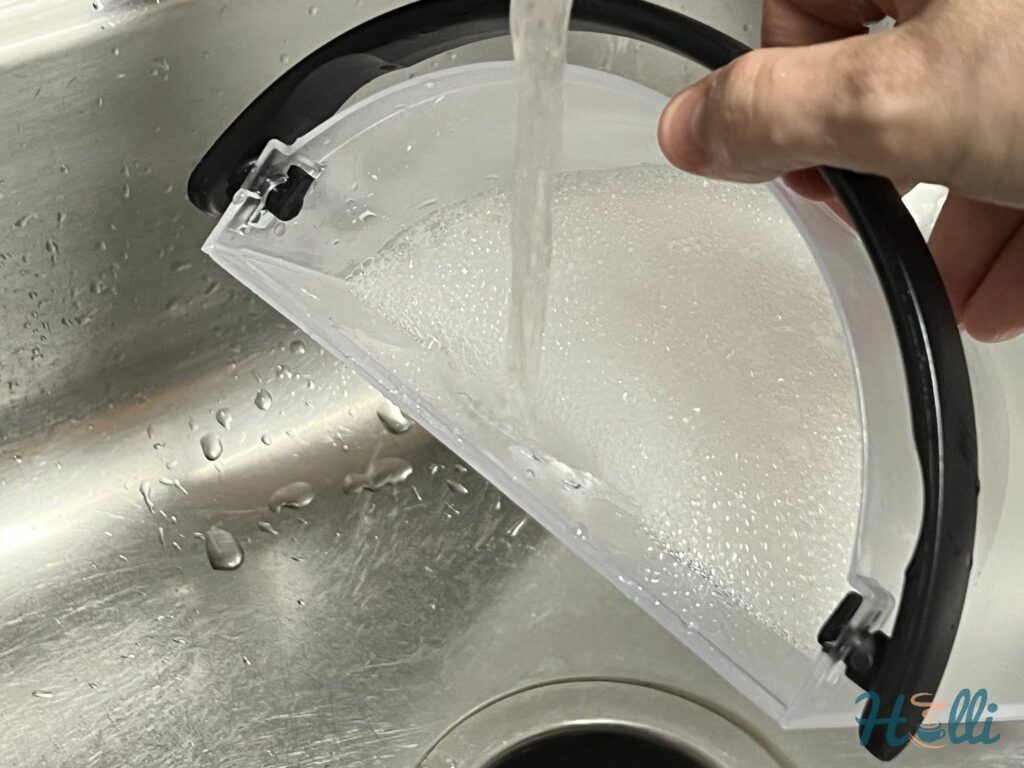
To start the descaling process, remove the water reservoir from the machine, empty it if there’s water inside and clean it thoroughly. Also, remove the filter from the reservoir so the descaling solution can pass freely.
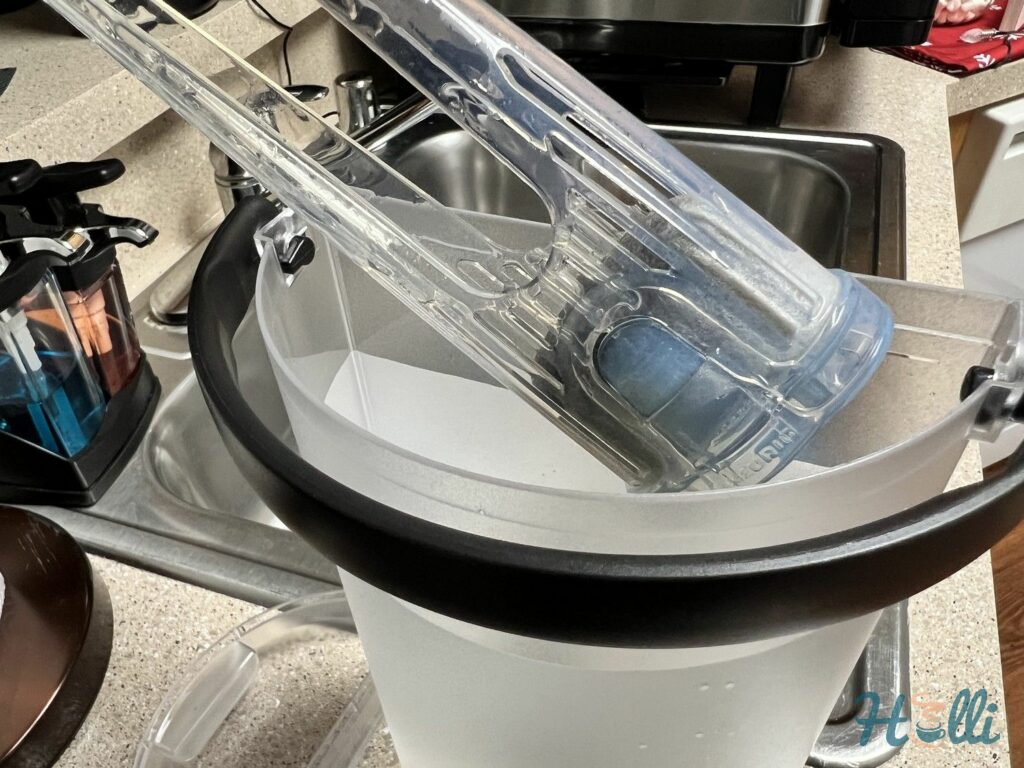
And then, remove the drip tray and the K-Cup holder. Take them alongside the water filter to the sink and wash them thoroughly under running water.
Step 2: Fill the Reservoir With Descaling Solution and Water
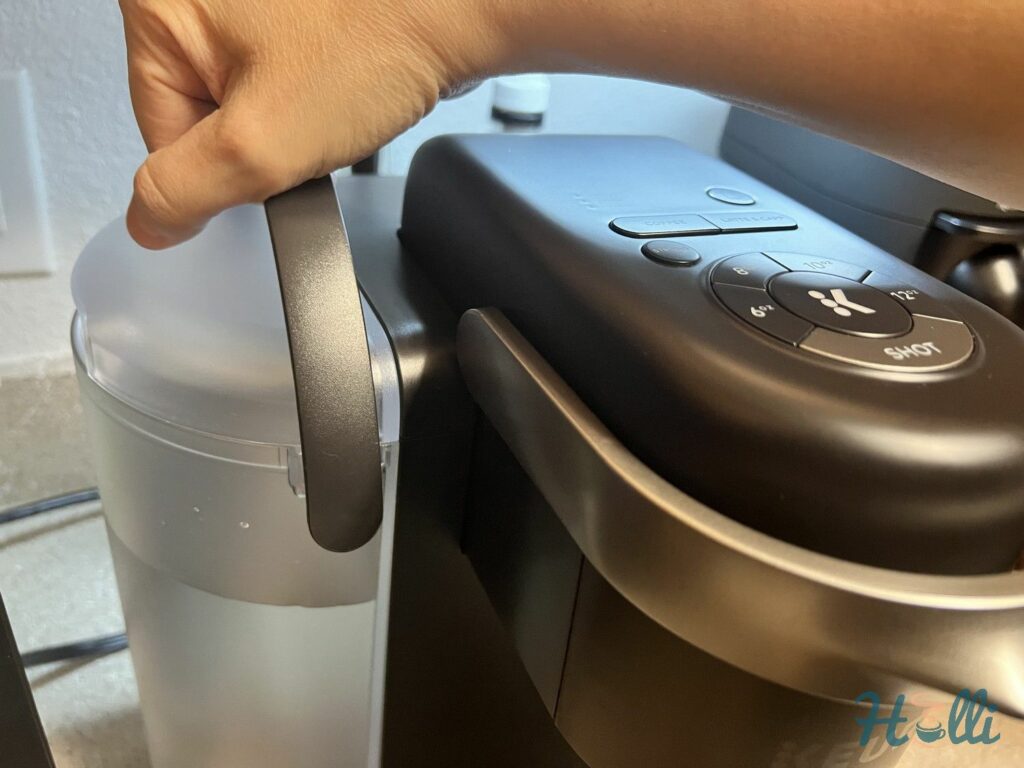
After cleaning the reservoir, fill it with 4 ounces of Keurig descaling solution, fresh water and reinstall it. Once the reservoir is in place, lift the brewer handle to open the K-Cup compartment; close it immediately.
Step 3: Select the Biggest Cup Size

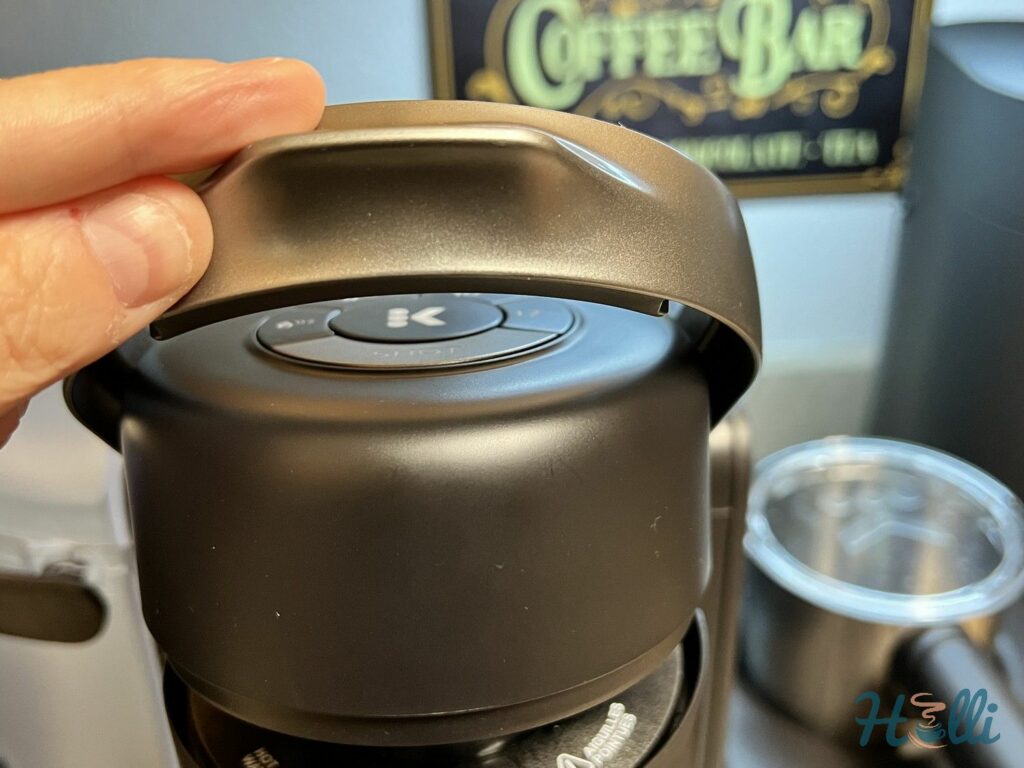
Without any K-Cup inside, select the coffee button and the largest cup size in your brewer and press the K button to start. This allows the brewer to run a regular brewing cycle—however, this time to descale itself.
Note:
In some Keurig coffee machines, especially older models, you must hold the 8 Oz and 12 Oz buttons together to initiate the descaling mode.
Step 4: Repeat the Process
The aim here is to run three descaling cycles. That’s the only way you can fully utilize the descaling solution and water in the reservoir.
So, if the first brewing cycle is complete, open and close the machine handle again, select the coffee button and the 12 ounces cup size, and press start. This second cleaning cycle should fill up the measuring cup; when it does, empty the cup and repeat the process for the third time.
At the end of the third cycle, remove the measuring cup and empty it. Also, lift the brewer handle, remove the pod holder and rinse it with hot water under a sink.
Then, remove the reservoir, empty it and add soapy water to clean it thoroughly.
Step 5: Run the Rinse Cycle
This is the last part of the descaling process. For this, put the filter back inside the reservoir. Also, put the pod holder back in place.
Next, fill the reservoir with purified water and reinstall the reservoir. Then, like running the cleaning cycle, select the coffee button and the 12 ounces cup size and press the K button to start.
Repeat this process until the brewer asks for more water in the reservoir. After filling the reservoir again, run the rinse cycle once more.
This ensures that there’s no taste of the descaling solution or vinegar in the machine. All you’ll get is a better tasting coffee instead.
Coffee Holli’s Pro Tips for Maintaining Your Keurig Machine
- Using mineral water is the main cause of mineral buildup in your Keurig. Thus, Reduce your use of mineral water significantly, or better still, replace it entirely with tap water.
- Drain your brewer when you don’t plan on using it for a long time. Leaving stagnant water inside the machine for a long time can constitute minerals, mold, and bacteria.
- Experts recommend cleaning your machine every two to three months. Try taking out all removable parts and giving them a thorough wash. This will ensure that your coffee keeps tasting fresh.
- If you can’t get a descaling solution, try descaling your Keurig using white vinegar.
- Model-specific guides: Keurig Mini
Conclusion
Descaling your Keurig not only helps break down the mineral buildup in your machine, but it goes beyond that. Let’s show you how:
- Descaling your Keurig regularly means the machine gets to perform more efficiently
- Regular descaling helps liven up the interior of the machine, thus, likely extending its lifespan
- Regular descaling eliminates minerals, mold and bacteria, which negatively impact the taste of your coffee and your health. Thus, descaling ensures you only drink quality coffee, which is good for your health
With that:
We’ve come to the end of this practical descaling guide. If there’s anything unclear to you, try reaching us via the comment box below.
Frequently Asked Questions
We recommend that you descale your Keurig between every two and three months.
The only two recognized methods to descale your Keurig are descaling solutions or white vinegar. Anything other than that is not recommended.